Now that you’ve seen the video, it really isn’t too hard to measure your own kitchen right? By now you should have a better idea of what you need to do to take measurements, we’ve also written down some simple and handy instructions to help you along, read on below for more information.
DOWNLOAD GRID EXAMPLE >
DOWNLOAD GRID TO DRAW UP YOUR PLAN>
Some tips to help you get started:
- Make sure you record your measurements in millimetres (mm)
- Measuring distance from floor to the ceiling, distance between the walls and distance from corners to doors.
- Measure each window and the distance from the corner to the window.
- Measure the distance from the corner to the gas connection and the distance from the corner to the tap.
- Mark down the positions of your kitchen switches
- Inform us of the size of your electrical appliances such as your fridge, range hood, dishwasher, oven and cook top.
- Please check that your recordings are accurate

CHOOSE YOUR LAYOUT
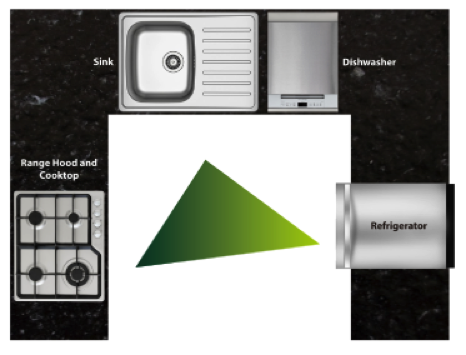
The three legs of the triangle connect the refrigerator, sink, and range (or cooktop). An ecient work triangle greatly reduces the steps a cook must take during cooking and meal preparation; the ideal sum of the three legs is between 3.6m and 7m. Whenever possible, the work triangle should not be interrupted.
Common Layouts

The straight line
Ecient, but counter space is limited and foot trac can be disruptive.

The gallery
Functional kitchen design that allows quick access to all areas of the kitchen with minimal walking distance.

The L-shape
Popular. No foot trac crosses through work triangle with lots of counter space.

The U-shaped
Surrounds the chef with appliances and counter space. Ideal for an island if the “U” is big enough.

